
Quirky Fell shares practical, down-to-earth guidance on quirky hillwalking and outdoor adventures in the uk fells for readers across the UK.
- 0123456789
- Angle Bd Abdelmoumen & rue soumaya, Résidence
- [email protected]
Quirky Fell shares practical, down-to-earth guidance on quirky hillwalking and outdoor adventures in the uk fells for readers across the UK.
 By Thomas Ashworth
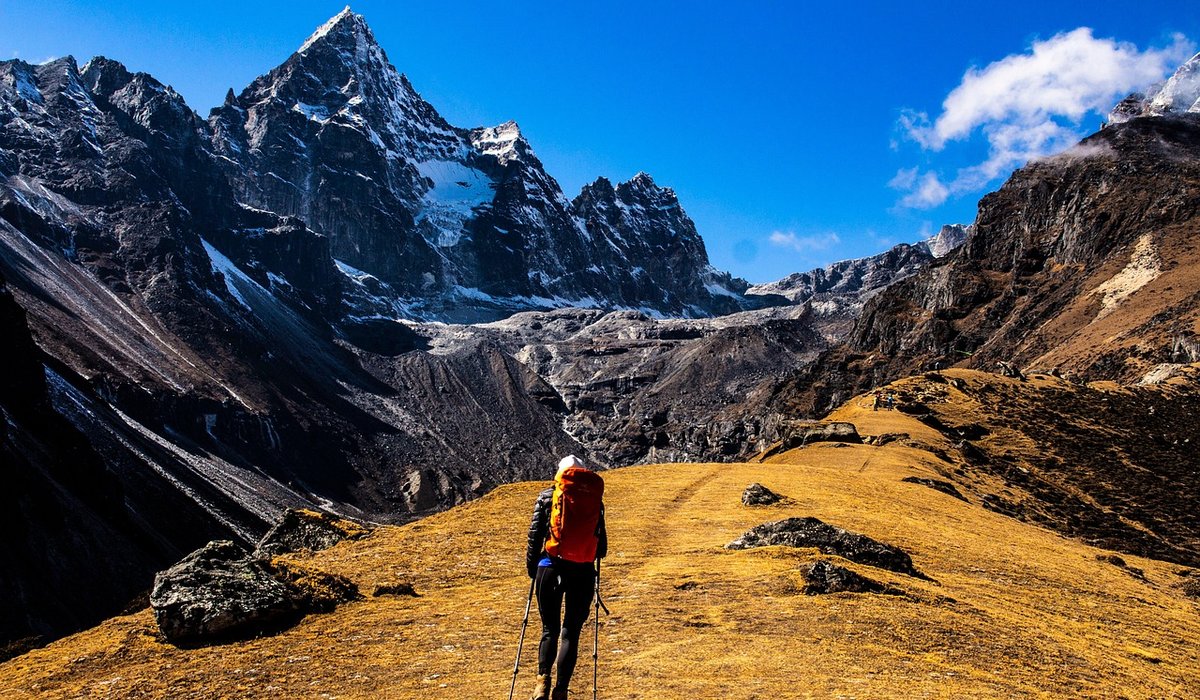
A contour line joins points of equal height above sea level. That is all it is — not a path, not a boundary, not something you can stand on. But because each line is one slice through the hillside, a set of them gives you the third dimension on a flat sheet of paper.
On most British hill maps, including the 1:25,000 and 1:50,000 series, the contour interval is 10 metres. Every fifth line is drawn thicker and labelled with its height — the index contours, usually at 50-metre intervals. Spot them early; they let you count quickly without losing your place.
The first habit is simple. Every time you cross a contour on the way up, you have climbed ten metres. A slope with twenty lines running up it is a 200-metre pull, and it will feel like one.
Where contours crowd together, the ground is steep. Where they spread out, it eases. Even spacing means a uniform slope you can settle into a rhythm on.
The pattern of spacing as you climb matters just as much. Contours bunched near the bottom and spaced out higher up describe a slope that eases as it rises — a convex bulge, common on the flanks of rounded fells. Contours that crowd together towards the top describe ground that steepens as you go, often the final pull onto a summit. Knowing which is coming changes how you pace the climb and where you plan to stop.
It changes your timekeeping too. Ten metres of ascent costs far more effort than ten metres on the flat. A reasonable rule of thumb is an extra minute for every ten-metre contour you climb — roughly an hour for 600 metres of ascent on top of your walking pace. Count the lines between the col and the summit before you set off, and you will know what the afternoon holds.
Once you can read spacing, start reading shape.
None of this sticks until you test it against real hillside. Choose gentle routes at first — a low fell with a clear ridge, a well-defined col and perhaps a tarn. Latrigg above Keswick, the edges above Edale, or one of the rounded Howgill tops all work well.
Walk at an easy pace and stop every twenty minutes or so. Look at the ground a couple of hundred metres ahead and predict what it does: does it flatten, steepen, fall away to the left? Then find that place on the map and check whether the contours agree. Then reverse it — pick a feature on the map and say out loud what you expect to see before you reach it.
Keep your thumb on your current position and turn the map to match the ground as you go. It feels fussy at first and becomes automatic surprisingly quickly.
Check the legend for the contour interval before you trust your counting — some maps use five metres, a few use twenty. Small features also disappear at smaller scales: a wiggle that is a genuine crag on a 1:25,000 map may not appear at all on a 1:50,000.
Remember too what contours cannot tell you. They say nothing about bog, tussock, scree or the state of a path. A tightly packed slope might be springy heather; a gently spaced one might be a mile of tussock. Use the contours to understand the shape of the land, then use your eyes and feet for everything else.
Practise in clear weather, when you can check your reading against the view. By the time the cloud comes down, the shapes will already be familiar.


We are not gonna make spamming
